

In this article, we will show you 5 easy steps on how to create a DIY customized metal design and how to create a custom metal design art/signs using a CNC Plasmacam cutter machine.
Do It Yourself, Wall Art
Metal Art projects are something we think anyone can do as long as you have proper guidance and the right tools. It's fairly easy and you don't even have to have artistic talent to make one. In this blog, we will show how easy it is to create metal art pieces that will leave your family and friends speechless.

How To Create A Custom Metal Sign With Plasma Cutting Technique
For information purposes, a PlasmaCAM is a computer-operated drawing table that can create metalwork projects/pieces from professionally made designs, your own drawings, to images collected from the internet. Here are the 5 easy steps on creating a DIY Plasma Metal Art using a Plasmacam:
First Step: The Template and Designs
It is important to choose what you would like to create. There are many sources upon which you can use to create your art. You can find images on the web, directly draw them by hand if you have the knack for them, or have it professionally done by an expert. Once you finalize the design, printing it out in your desired size is the next step.
Trace your design/template on the material you are going to use. You can either use a black market or white marker to trace it around the material. We find the latter better because it is easier to look at during plasma cutting.
Step 2: The Cutting Process
Before you do any cutting, ensure that you have the right size for your design. Afterwhich, lay down your template along with your material onto the table and start cutting. You can start cutting out the borders of the letters and be sure to remove excess centerpieces. Remove the piece from the table.
Third Step: Cleaning It Up
After you cut off everything you need to clean up your piece. Usually, there is dross at the back. You can remove this with a chisel and hammer. Using a grinder is also possible for a thicker material but if you used a thin material, the hammer and chisel will do.
Fourth Step: Spruce It Up With A 3D Addition
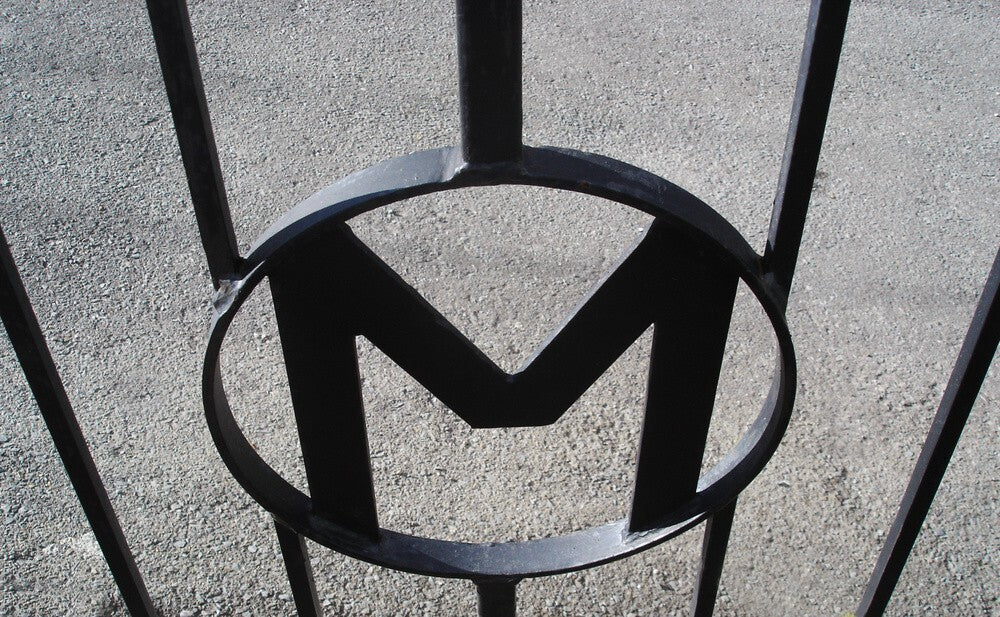
A 3D element would be a great addition to your piece. You can cut and add other things like an emblem or personalized logo to it. Weld it onto your piece carefully but be sure that everything is cleaned before doing so.
Fifth Step: Finishing touches
You have several options to finish your wall art. You can do the following: Graining, Painting, Swirling and leaving unique discoloration residue to give it an interesting finish. If you are working with steel, you can have exposed it to natural elements and let it rust as time passes by. Personally, we like working with Grinders, they give provide unique finishes. Just remember to practice on other old materials first before attempting to use them.
Experiment with other materials until you make something that you truly want!
490 Creations Plasmacam Cutting Experts In Tahlequah, Oklahoma
For professionally done plasmacam projects, please feel free to contact us at 918-289-2706. For more information, regarding our products and services, kindly visit our main page which is https://490-creation.myshopify.com/. Thank you for reading!


